About the AeroPress
STEP 1: GET THE ESSENTIALS
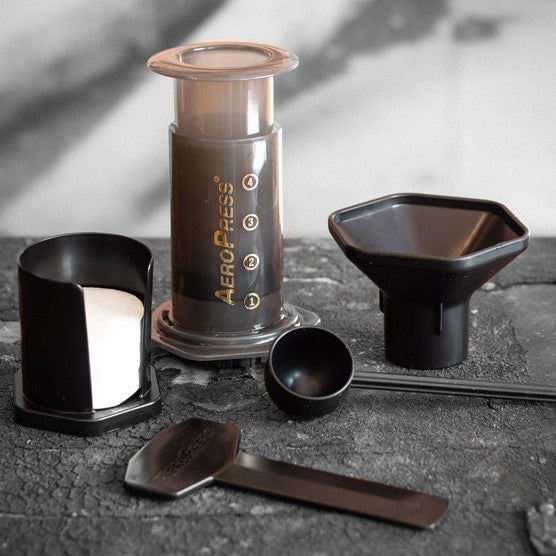
Get ready to brew the perfect cup of coffee with your AeroPress kit! Before you start, make sure you have everything you need. Your kit should include the items pictured to the left, and don't forget to preheat everything for the best results. Here's what you should have:
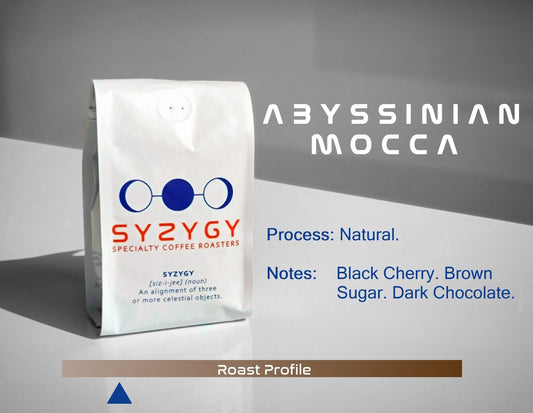
Syzygy Specialty Coffee
AeroPress kit
Kettle (Gooseneck preferred)
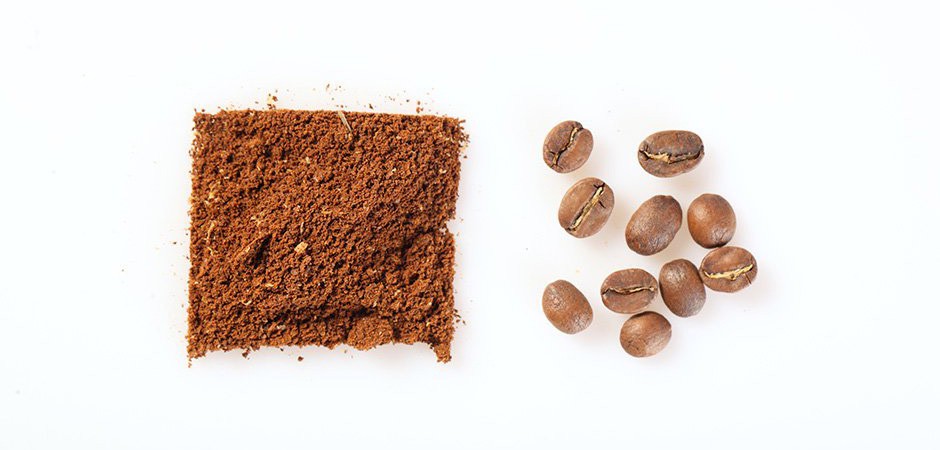
STEP 2: THE RIGHT GRIND
Time to grind the coffee! For your AeroPress, we recommend grinding your Syzygy Specialty Coffee a bit finer than sea salt. Use 15 grams of coffee for every 225 milliliters of water (a ratio of 1:15).

STEP 3: RINSE THE FILTER
Before brewing, place a single circular filter into the filter-cap and rinse it with hot water. This step helps to warm up the filter and remove any papery taste.
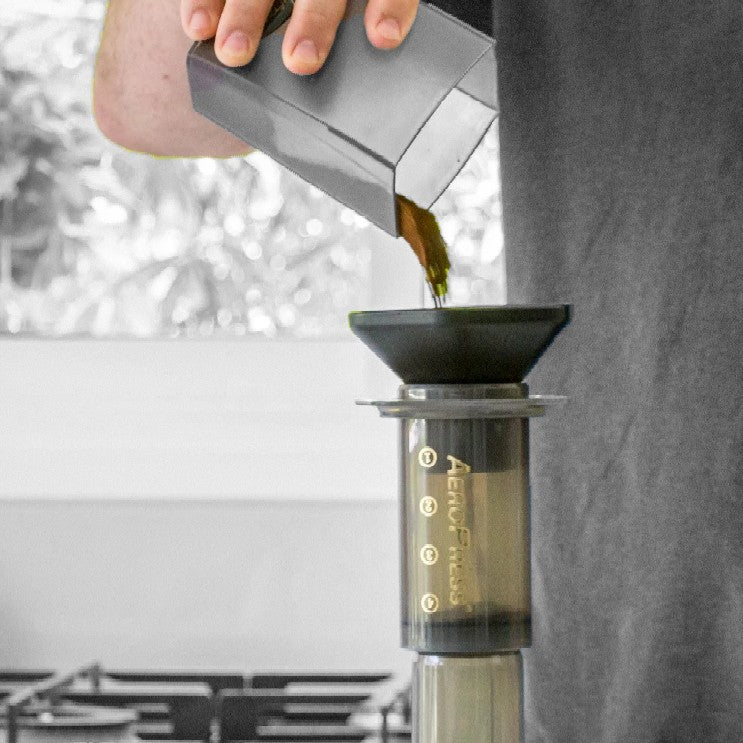
STEP 4: ADD THE COFFEE
Now it's time to add the ground coffee to your pre-heated AeroPress. To prevent any spills or mess, we recommend using the funnel that comes with the AeroPress kit.
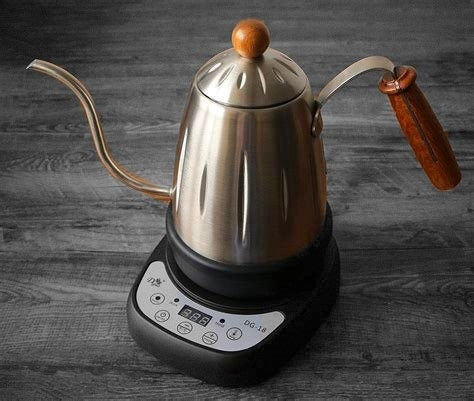
STEP 5: TURN UP THE HEAT
For the perfect cup of AeroPress coffee, we recommend using 15 grams of coffee and 225mL of water. Heat the water to 89°C (192°F) before brewing.
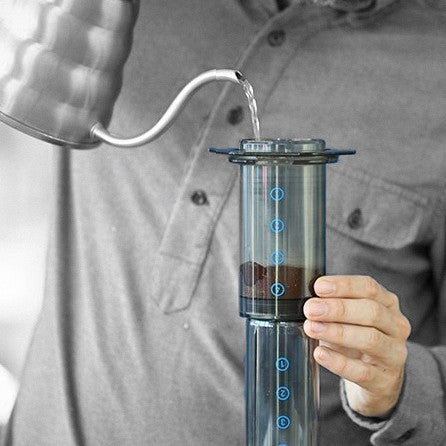
STEP 6: BLOOM IT!
Pour twice the amount of water as you have coffee (in this case, 30mL) over the ground coffee in a circular motion to ensure it's evenly wet. This process, called blooming, will allow the coffee to release carbon dioxide and expand. Wait for 30 seconds before moving on to the next step."
STEP 7: STIR IT GENTLY
Use the included stirrer to make sure all the coffee has interacted with the water.
STEP 8: ADD THE REMAINING WATER
Pour the remaining 195 mL of water, slowly, in a circular motion. In the end, stir briefly with the included stirrer.
STEP 9: SEAL THE DEAL
Screw the filter-cap on top of the AeroPress and wait for the coffee to brew - we recommend brewing for approximately 1 minute.
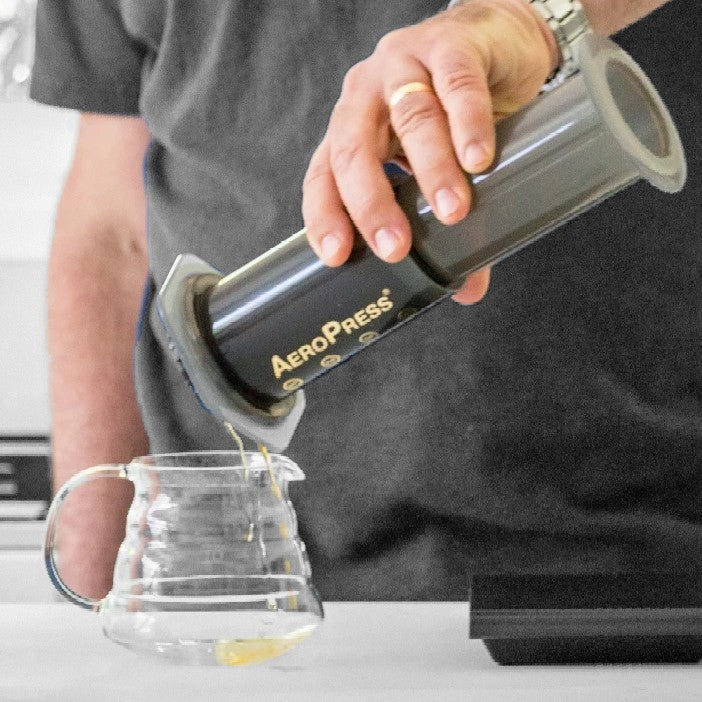
STEP 10: FLIP IT
Carefully flip the AeroPress and place it on top of your warm coffee mug. The AeroPress is now in the inverted position. Make sure the mug is stable and can support the weight of the AeroPress.
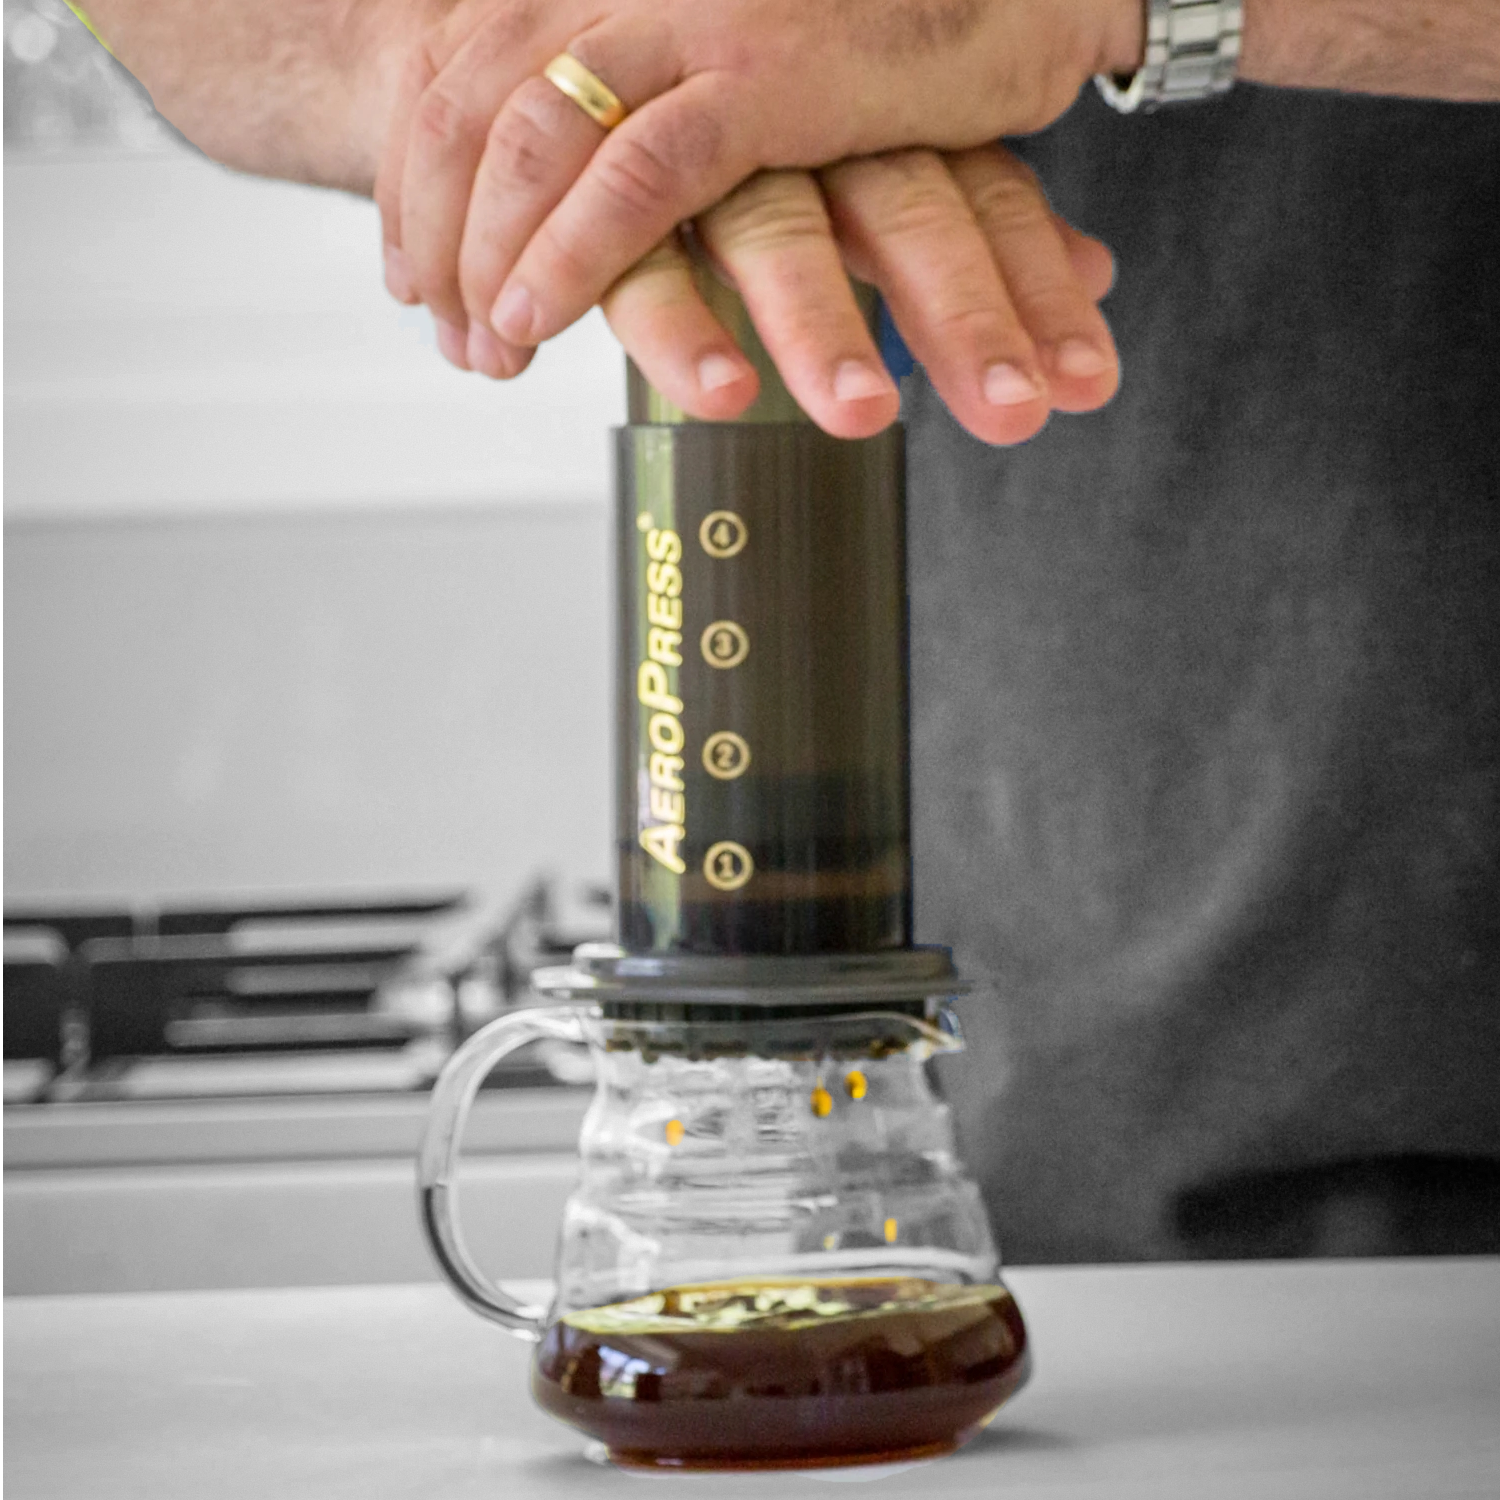
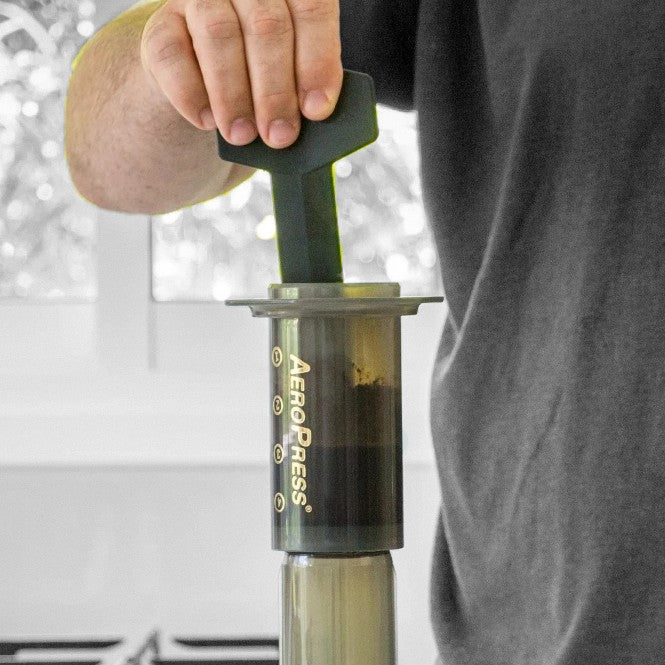
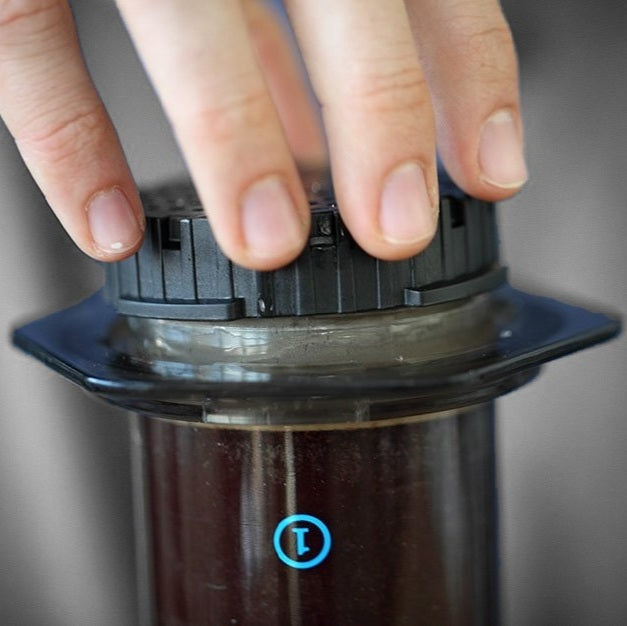
STEP 11: AERO-PRESS IT
Slowly but firmly press from the top, using even pressure until you hear a slight hissing sound. This indicates that all the liquid has been extracted from the coffee grounds. Stop pressing as soon as you hear the hissing sound, as over-pressing can lead to bitterness.

STEP 12: ENJOY!
Nothing left to do, but to enjoy!
Do You Want to Try It Out? Click Below! (Amazon Link)
Shop our Coffee
-
Valtteri Bottas Blend | F1 Inspired Coffee
Vendor:Syzygy CoffeeRegular price $22.99Regular priceUnit price per$18.00Sale price $22.99 -
Cosmos Blend by Syzygy Coffee
Vendor:Syzygy CoffeeRegular price $18.99Regular priceUnit price per$18.00Sale price $18.99 -
Syzygy Coffee Pack | Perfectly Aligned
Vendor:Syzygy CoffeeRegular price $59.00Regular priceUnit price per$18.00Sale price $59.00 -
Ethiopian Coffee | Abyssinian Mocca | Natural Single Origin
Vendor:Syzygy CoffeeRegular price $24.99Regular priceUnit price per$16.00Sale price $24.99